material testing machine price
April 20, 2021material testing machine priceuniversal testing machineuniversal testing machine 1000knuniversal testing machine 2000knUniversal Testing Machine Chinauniversal testing machine compression testuniversal testing machine experimentuniversal testing machine instronUniversal Testing Machine Priceuniversal testing machine utmUtm Machineutm machine manufactuerutm machine manufacturer in indiautm machine price in india
material testing machine price
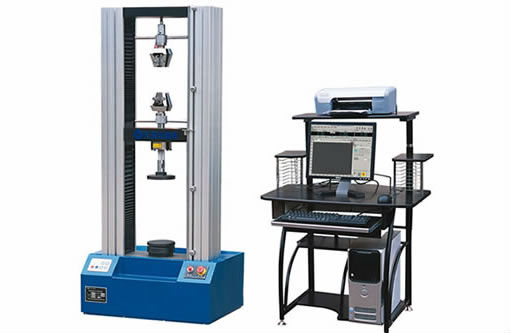
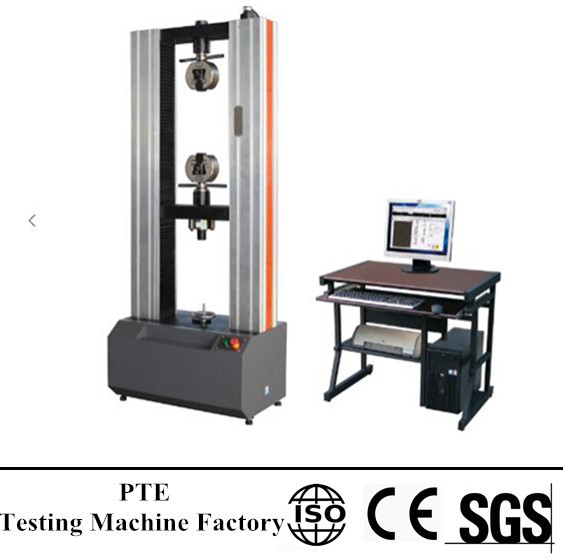
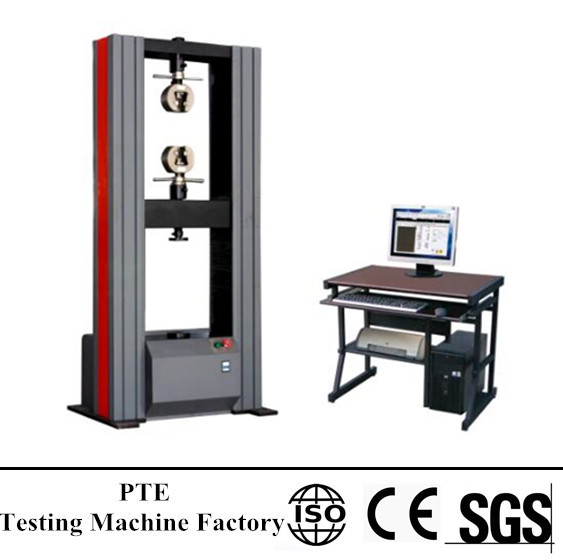
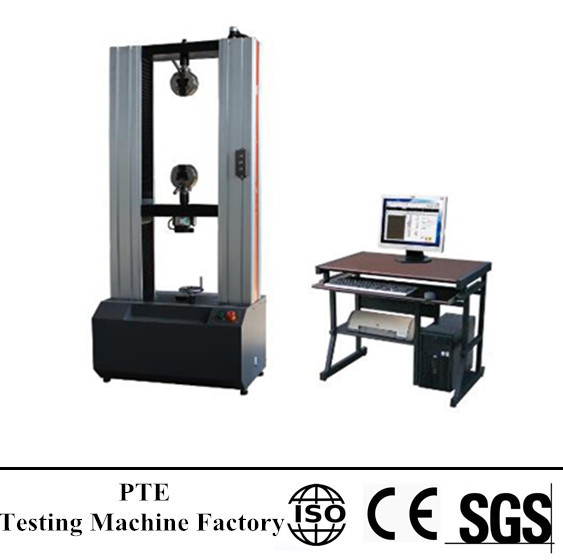
WDW-T300 Universal tensile testing machine price+material testing equipment+Electronic universal testing machine utm
Adopting the world’s most advanced and reliable floor-standing host structure, imported full-digital AC servo speed control system and motor, imported load sensors, and fully digitally-designed measurement and control system, it can realize high-precision, wide-range measurement and three-closed-loop control.
The measurement and control system uses high-precision converters, imported high-quality electronic components, and is fully digitally designed. It conforms to the PCL2.1 specification and automatically allocates resources for plug and play. Integrated dual-channel precision amplifier with automatic zero detection. Built-in large-scale CPLD programmable logic chip, high-speed computing, real-time processing. CNC adjustment and calibration, providing SingAD software interface.
| TECHNICAL PARAMETER | |||||
| Model | WDW-T50 | WDW-T100 | WDW-T200 | WDW-T300 | WDW-T600 |
| Maximum test force | 50kN | 100kN | 200kN | 300kN | 600kN |
| Accuracy level | 0.5 level | ||||
| Test force measurement range | 0.2%-100%FS | ||||
| Test force indication error | ±0.5% | ||||
| Test force resolution | The maximum test force of 1/500000, the entire process regardless of file | ||||
| Beam displacement indication error | ±0.2% | ||||
| Displacement resolution | 0.015µm | ||||
| Force control rate adjustment range | 0.005~5%FS/S | ||||
| Force control rate control accuracy | The rate is less than ±2% of the set value when the rate is less than 0.05% FS/s, and less than ±0.5% of the set value when the rate is ≥0.05% FS/s | ||||
| Deformation rate adjustment range | 0.005~5%FS/S | ||||
| Deformation rate control accuracy | The rate is less than ±2% of the set value when the rate is less than 0.05% FS/s, and less than ±0.5% of the set value when the rate is ≥0.05% FS/s | ||||
| Beam speed adjustment range | 0.001~500mm/min | ||||
| Beam speed relative error | Within ±0.2% of the set value | ||||
| Constant force, constant deformation, constant displacement control range | 0.5%~100%FS | ||||
| Constant force, constant deformation, constant displacement control accuracy | When the setting value is ≥10% FS, it is within ±0.1% of the set value; When the setting value is <10% FS, it is within ±1% of the set value. | ||||
| Stretching space (without fixture) | 1000mm | 1450mm | 1100mm | 1250mm | |
| Compression space | 930mm | 1480mm | 1100mm | 1100mm | |
| Effective test width | 560mm | 580mm | 580mm | 600mm | |
| Host Dimensions(mm) | 1010×850×2160 | 1090×820×2740(Single space)1090×820×2820(Double space) | 1090×820×2475(Single space)1090×820×2555(Double space) | 1420×1145×2915 | |
| Double space | 380V/50Hz,±10% | ||||
| Power | 3KW | 5KW | 4.4KW | ||
| Weight of host | About 1000Kg | About 1100Kg | About 1200Kg | About 1500Kg | |
| Big deformation | Large deformation measurement range | Note | 1. Fixture and deformation measuring devices and other accessories, configured according to customer needs | ||
| Large deformation error | 2. According to user requirements for local adjustment | ||||
| Large deformation resolution | 3 special widening test space can be customized | ||||


 universal testing machine working
 working of universal testing machine
 what is universal testing machine