universal material testing machine
April 16, 2021admet tensile testercomputer controlled electronic universal testing machinedigital display electronic universal testing machinedigital tensile testing machinedigital tensile testing machine manufactuerelectromechanical universal testing machineElectronic Universal Testing Machineinstron 3400 serieslloyd universal testing machinemachine used for tensile testMicrocomputer Controlled Electronic Universal Testing Machineshimadzu autographsingle column universal testing machinetestometric tensile testing machinetinius olsen universal testing machinetinius olsen utmuniversal material testing machineuniversal sand testing machineuniversal strength machineUniversal Tensile Testing Machine Priceuniversal testing machine useuniversal testing system.use of universal testing machineutm machine testzwick tensile testing machine
universal material testing machine 10kN – 100kN 10Ton Computer Controlled Electronic Universal Tensile strength Testing Machine
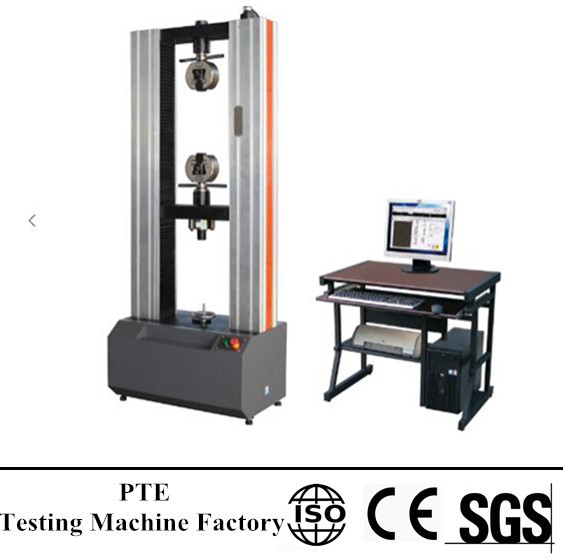
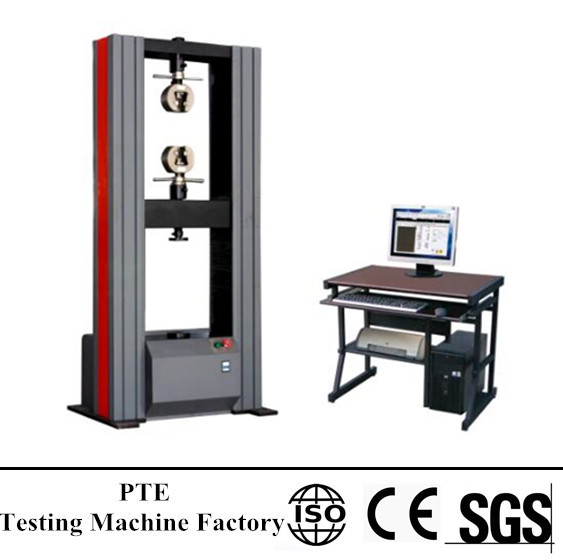
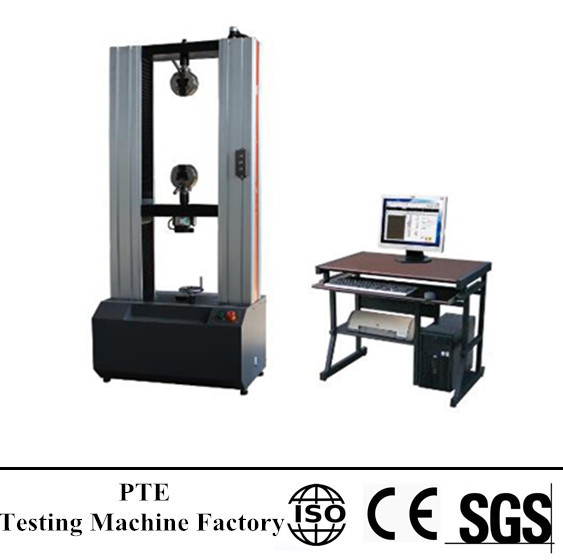
The machine is designed by mechanical-electrical integration, composition of the force-measuring sensor, transmitter, microprocessor, mechanism of load drive, computer and color inkjet printer. High-precision electronic motor can be set to five-speed, the components are connected by plug-way, Floor-standing models, it is taken account of modern industrial design and ergonomics in modeling and coating. It can be tested all the materials in stretch, compression, bending, shear, embedded relay, peeling, tearing, crack, etc,such as rubber, plastics, leather, metal, nylon wire, fabric, paper, aerospace, packaging, construction, petrochemical, electrical, vehicle, etc.
The implementation of standards and standard configuration:
1. GB/T4689.20-1996 Measuring fastness of leather’s adhesion
2. QB/T2710-2005 Measuring leather’s expansion and the rate of elongation
3. QB/T2711-2005 measuring tear force of leather
4. QB/T2712-2005 measuring leather’s strength and stretch of spherical crack test
Technical parameter:
| Model | HZ-1003A |
| Max load | 5KN, 10kN, 20kN, (option) |
| Accurate grade | 1 % /0.5 % |
| Effective measuring range | 0.2%~100%(1grade)/0.4%~100%(0.5 grade) |
| Measuring accuracy | Display the value ±1%/Display the value±0.5% |
| Tester resolution | Max load 1/200000 |
| Load sensor | Basic configuration: sensor(max load): one |
| Extended configuration: can add more sensors | |
| Effective testing width | 390mm (or customize) |
| Effective Tensile stroke | 800mm; |
| Accuracy of displacement measurement | Tolerance: ±0.5%/ tolerance: ±0.2% |
| Accuracy of measured deformation | Tolerance: ±0.5% (according to requirement of customer to choose the larger or small deformation) |
| Safety | Electronic-limit protection |
| Testing platform moving device | Fast /slow two speeds to control, can jog |
| Overload protection | Overload 10%, automatic protection |
| Fixture | A set of tensile fixture |
| Machine size | 80x55x220cm (length*width*height) |
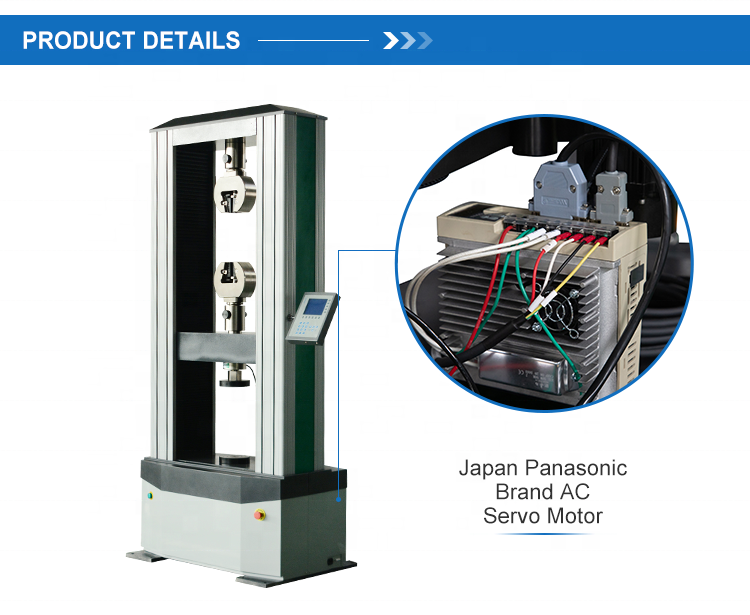
| Power system | Panasonic AC Servo Motor + Driver + high-precision ball screw |
| Power supply | 220V, 50HZ |
| Power | 0.4KW (depends on the force) |
| Machine weight | about 250 Kg |
| Units | Kg, N, LB, TON can be exchanged. |

Specifications:
A. High-precision sensor 1ton from U.S.A. Accurate Forces within ± 0.5%.
B. High-precision 24 bits A / D, sampling frequency 200Hz.
C. Power System: Panasonic AC Servo Motor + Driver + CAVEX + precision ball screw.
D. Control System: it is more precise using Pulse Command control modem, the range in speed control is 0.01 ~ 250 mm / min.the board of iron can be adjust to fast and slow by the control board. it is automatically saved after testing.
E. Data transmission: RS232 Transfer.
F. Display: windows XP test software.
G. Easy to control five speed and calibration system.
H. Test software can precision control in position, speed, rate of load force and rate of stress, satisfy the different requirements of test.
I. Test space: Testing width is about 400 mm (standard), moving space of active iron 1000mm. (excluding fixtures)
J. Displacement: coder 2500 P / R, increase four-time accuracy. adopt Japanese Lejing coder that has strong anti-jamming capability, displacement resolution 0.001mm.
Small deformation: Metal extensometers, parsing 0.001mm.
K. Safe equipment : the system would shut down if overload or over-trip.


 universal testing machine working
 working of universal testing machine
 what is universal testing machine